


How to Use Masking Tape When Painting
There's not many who would attempt to freehand a straight line whilst painting so for the majority of us, masking tape is our go-to when aiming to achieve a perfect finish.
Great for painting straight lines, making sure paint doesn't spill over onto ceilings or woodwork and saving other surfaces from splatters and smudges, it's a DIY staple and one tool you'll find in most DIY-ers kits.
So which one is best?
Well, it all depends on your project, wall type, paint or surface. There are some tapes with more adhesion than others, different types for various surfaces like walls and woodwork and there are even different widths available. If all else fails however, stick to an all-in-one masking tape and you can't really go wrong.
How to use it
1. First of all make sure your surface is clean, otherwise your tape won't stick due to the dust particles and you risk your line not being straight. Take a damp cloth and thoroughly wipe the area before leaving to dry completely
2. Next start applying the tape, making sure to overlap each end so there are no gaps for paint to seep through
3. Once all the tape has been applied to the desired areas, make sure it's sealed down
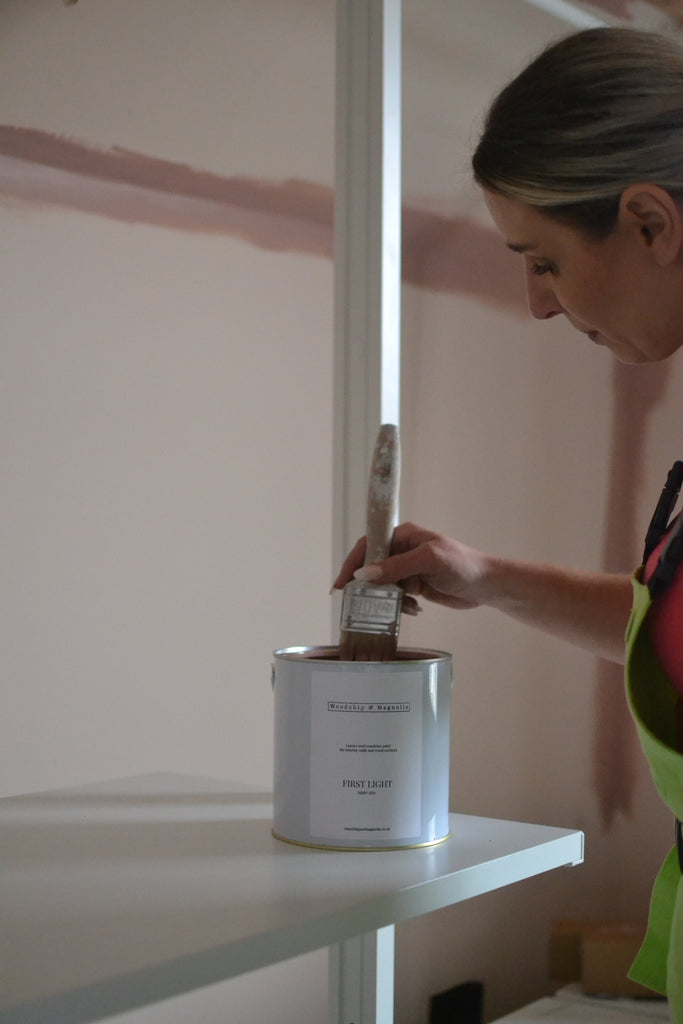
4. Start painting!
5. Make sure to remove the masking tape whilst the last coat is still wet. Doing so will prevent the tape taking any dry chips of paint with it, thus leaving a perfectly straight line
Top tip for a perfectly straight line on walls:
1. Paint over the edges of the masking paint with the existing colour on the wall then leave to dry
2. Once dry, apply your new colour
3. Peel the tape away when the last coat is still wet et voila! A perfectly straight line